Nexus 5 ブートローダーのロックを解除する方法:改造の最初のステップ
Nexus デバイスは、モッダー、調整者、カスタム ROM マニアにとって完璧な遊び場であり、伝説的な Nexus 5 に勝るものはありません。その前に、Nexus 5 ブートローダーのロックを解除する必要があります。あなたはそれを行う方法。 Android Lollipop でも Marshmallow でも、手順は同じです。
- Nexus 5 のヒント
- Android Lollipop で Nexus 5 を root 化する方法
- 簡単な調整で Nexus 5 を Nexus 6 に変身
- Nexus 5 Android アップデート ニュース
注: Nexus 5 ブートローダーのロックを解除すると、端末からすべてのデータが消去されます 、続行する前に、Nexus 5 コンテンツの完全なバックアップがあることを確認してください。また、アンロックされたブートローダーは、携帯電話を紛失した場合の安全性を低下させることにも注意してください (設定したセキュリティをバイパスできるため)。
Nexus 5 ブートローダーのロックを解除するには、プラットフォーム ツールと呼ばれる Android SDK の一部が必要です。必要に応じて完全な Android SDK をダウンロードすることも、このチュートリアルに必要な部分だけをダウンロードすることもできます:ADB ツールをダウンロードしてください。
前提条件
- Nexus 5 のバッテリーが充電されていることを確認してください。
- Nexus 5 データのバックアップがあることを確認してください
- Nexus 5 ドライバがコンピュータにインストールされていることを確認してください
- Nexus 5 で USB デバッグが有効になっていることを確認してください
Nexus 5 で USB デバッグを有効にする方法
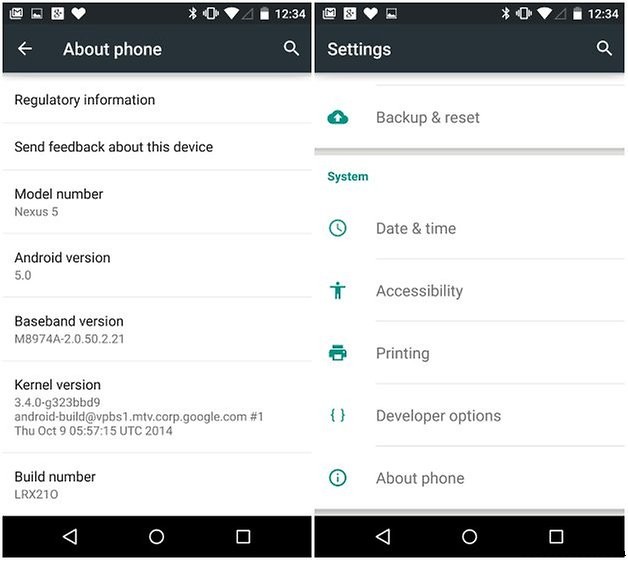
Nexus 5 で USB デバッグをまだ有効にしていない場合は、 設定 に移動します。> 電話について ビルド番号をタップします 開発者向けオプションという通知が表示されるまで 有効になっています。 1 ステップ戻ると、 設定 が表示されます。 開発者向けオプションというセクションが追加されました 底に。ここに移動して、USB デバッグ のチェックボックスをオンにします .

Nexus 5 ブートローダーのロックを解除する方法
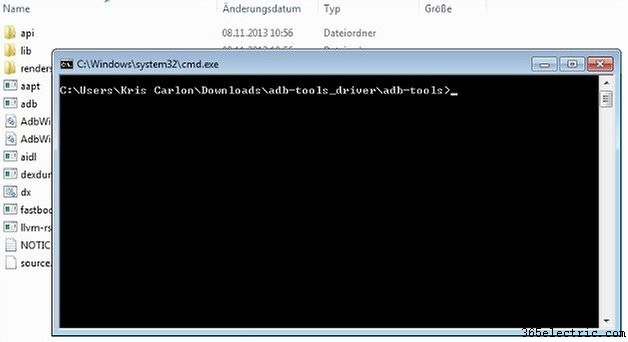
1. ADB Tools というフォルダに移動します。 (または プラットフォーム ツール
2. Shift キーを押します 空白スペースを右クリックし、ここでコマンド ウィンドウを開くをクリックします。 .
3. USB デバッグを再確認します Nexus 5 で有効にしてからオフにします。
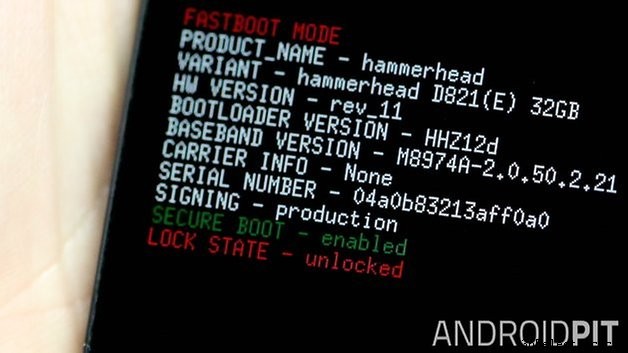
4. 電源を長押しします および 音量を下げる Nexus 5 で Fastboot モードに入ります。
5. Nexus 5 を USB ケーブルでコンピュータに接続します。
6. コマンド プロンプト ウィンドウに戻り、次のコマンドを入力します。
7. Nexus 5 では、ブートローダーのロックを解除するかどうかを尋ねる画面が表示されます。ボリューム ロッカーを使用してスクロールし、 パワー yes を強調表示するボタン .
8. Once the phone has finished doing its thing, enter the following command:
9. Your Nexus 5 will now reboot with an unlocked bootloader. Once it has restarted you can restore your backed-up apps and data.
What can I do with an unlocked bootloader?
Many, many things. You might want it to install a custom recovery on the Nexus 5. You can also use it to flash custom ROMs (alternative versions of Android). Or you can use it to grant yourself root access and take complete control over your device.
You'll still get OTA Android updates though (unless you flash a custom ROM) and Google is nice enough to say that unlocking your Nexus 5 bootloader "may" void your warranty, not that it definitely will. After all, Nexus devices were originally designed as developer tools for Android development. Enjoy your unlocked bootloader and hit us up with any questions below.
トラブルシューティング
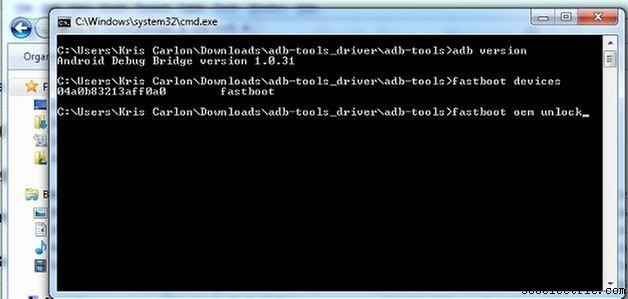
If the command you entered doesn’t seem to work, type in the following command to see if ADB is functioning properly:
You should see a version number for the Android Debug Bridge (ADB). That means ADB is working.
Next, type in the following:
You should see your Nexus 5 appear in a list (don't worry if you don't understand the numbers). If it doesn't, ADB is not recognizing your Nexus 5. Make sure USB Debugging is enabled and you have the USB drivers installed on your PC and try again.
- How to root and unlock the bootloader on any Nexus
If you have any other problems, let us know in the comments below.