Android をオーバークロックする方法:カーネルの使用ガイド
携帯電話がどんなに高速であっても、少しでも速くする余地は常にあります。幸いなことに、Android ではそれが可能です。このプロセスはオーバークロックと呼ばれ、CPU を通常より少し速く実行させることを意味します。 Android スマートフォンをオーバークロックしてスーパーチャージする方法は次のとおりです。
- スマートフォンを高速化するための 10 のヒント
- Android スマートフォンのバッテリーをより速く充電する方法
筋金入りの PC ユーザーは、オーバークロックにすでに慣れているかもしれません。特にゲーマーは、何年もの間ハードウェアをオーバークロックして、マシンのパフォーマンスを向上させてきました。 Android にも同じ可能性があります。製造元の推奨設定よりも高速に CPU を実行するように指示できます。このプロセスは驚くほど簡単で、最大 30% も多くのパワーを得ることができます。知っておくべきことはすべてここにあります:
- カーネルとは?
- 始める前に知っておくべきこと
- 適切なカーネルを入手
- オーバークロック ソフトウェアを使用する
- Android をオーバークロックする方法の手順
- CPU クロック速度の変更
カーネルとは?
カーネルは、コンピューターのオペレーティング システムの中核となるコンピューター プログラムです。多くの場合、コンピューター デバイスを起動したときに最初に読み込まれるプログラムの 1 つであり、ブートローダーと呼ばれることもあります。カーネルは、プロセスの実行、ハードディスクの管理、割り込みの処理、残りの起動プロセスの整理などのタスクを実行します。これは、Android が Linux カーネルを使用するカーネル空間と呼ばれるメモリの保護された部分で行われますが、デバイスをルート化すると、これを変更できます。
始める前に:こちらをお読みください
まず、標準的な警告を与える必要があります。電話の CPU をオーバークロックすると、いくつかのリスクが伴います。 CPU のクロック速度を上げると、より多くの熱が発生し、より多くの電力が消費されます。携帯電話が発火したり、バッテリーが死んだりすることはほとんどありませんが、過度の熱生成により不安定になり、バッテリーの寿命に影響を与える可能性があります。
時間をかけることがポイントです。すぐにクロック速度を 30% 上げようとしないでください。ゆっくりと、増加するたびにシステムがどの程度安定しているかを評価してください。 Android が正常に動作し、携帯電話の熱とバッテリーの寿命が許容範囲内であり、クラッシュや異常な動作がない場合は、クロック速度をさらに上げてみてください。様子がおかしくなったら、最後の安定したクロック速度に戻してください。
オーバークロックに適したカーネルの入手
それで満足ですか?先に進みましょう。 Android フォンの CPU 設定を微調整するために必要なのは、オーバークロックをサポートするカーネルだけです。オーバークロックは改造コミュニティの定番であるため、選択できる優れたカーネルが不足することはありません。特定の電話モデルに適したカーネルを入手する必要があるだけです。
まず、お使いの携帯電話のモデル番号を見つけます。 [設定]> [電話について] に移動します そして見てください。また、実行している Android のバージョンもメモしておく必要があります。また、CPU をオーバークロックするには、電話をルート化する必要があります。 Android のルートについて詳しくは、ガイドをご覧ください。当然、このプロセスは保証対象外ですので、自己責任で行ってください。また、カスタム リカバリをインストールする必要があります。詳細は以下をご覧ください。
カーネルの交換とオーバークロックにはまったく時間がかかりませんが、適切なカーネルを見つけるために時間を費やす価値はあります。 XDA Developers のようなサイトは、始めるのに最適な場所です。カーネルに求めるものは 4 つあります。それは、オーバークロックをサポートしていること、お使いの携帯電話のモデルと互換性があること、現在の Android バージョンで動作すること、評判が良いことです。
カーネルの人気が高いほど、必要に応じてコミュニティから助けを得たり、推奨される設定を追跡したりすることが容易になります (自分で解決するよりも、他の人の努力から学びたい場合)。カーネルに関するフィードバックが多ければ多いほど、より多くの情報に基づいた決定を下すことができます。
カーネルのオーバークロック ソフトウェア
一部のカーネルには、カーネルを最大限に活用できるように調整された専用ソフトウェアが付属しています。これには、単純なオーバークロック スライダー、CPU ガバナー設定、低電圧オプションなどが含まれます。選択したカーネルにコンパニオン アプリがある場合は、それを使用します。 If it doesn't, search around the Play Store for a generic overclocking or CPU manager app with a good rating and positive comments.
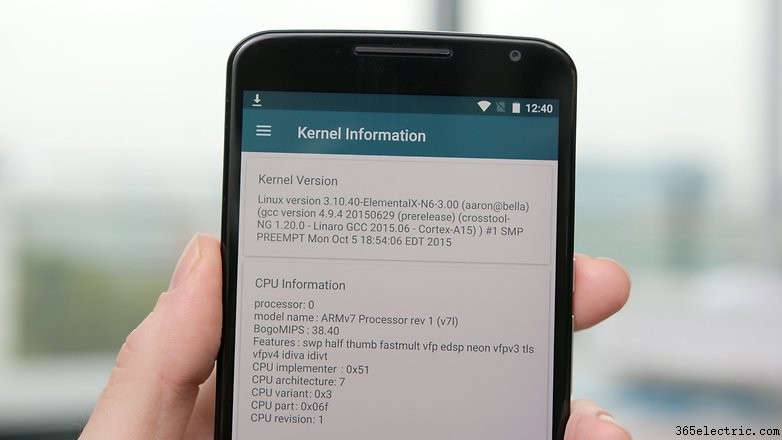
Once you've got the kernel for your particular model of phone, and have ensured it works with your version of Android and supports overclocking, you're good to go. For this tutorial we're overclocking a rooted Nexus 6 running stock Android 6.0 Marshmallow using the ElementalX kernel.
Many custom ROM kernels already support overclocking however, so if you are using a custom ROM, read up on it to see if you even need to change your kernel.
How to overclock your Android phone
Your phone needs to be rooted in order to flash a custom kernel. You'll also need a custom recovery installed (because you can't flash kernels using stock recovery). If you need help with this, follow our guide on how to install a custom recovery. The guide at the link is for a Nexus 5 but the same process applies.
1. Make sure you have a backup of your data. You can do this through your custom recovery or with any number of apps or PC-based solutions. If you need help with this, follow our guide on how to back up everything on Android.
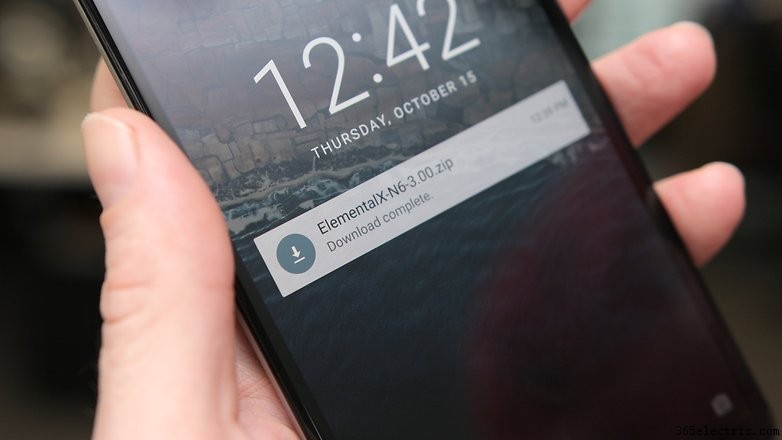
2. Once you've chosen the kernel you want to use, download it (and any software it might have come with) onto your Android (you can leave it in the Downloads folder). You can also download the kernel to your computer and copy the zip file to the root directory of your phone if you prefer, but it's just as easy to just do it on your phone through recovery.
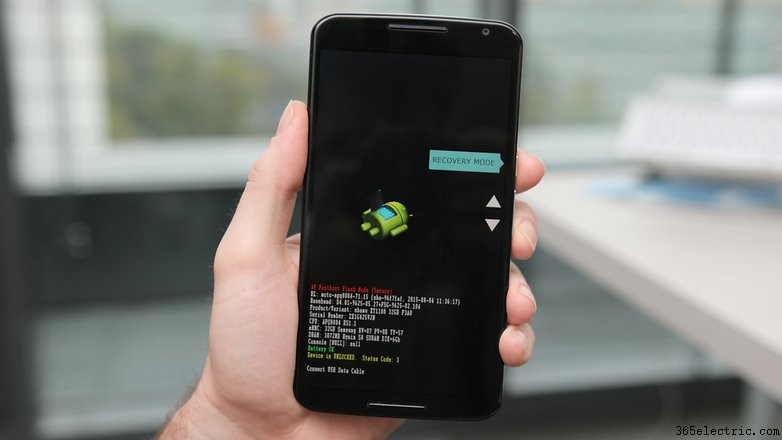
3. Turn off your phone and enter fastboot. This is usually achieved by pressing Power and Volume Down but some manufacturers have a different button combination.
4. On the fastboot screen, use the volume buttons to highlight Recovery mode and press the power button to select it.
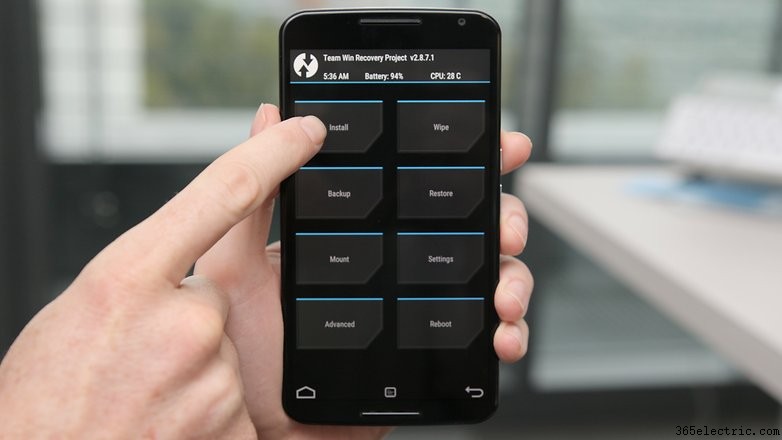
5. You will now enter your custom recovery. We're using TWRP.
6. Tap the Install button (or 'Install zip' in CWM recovery) and navigate to the location where you saved the kernel zip file.
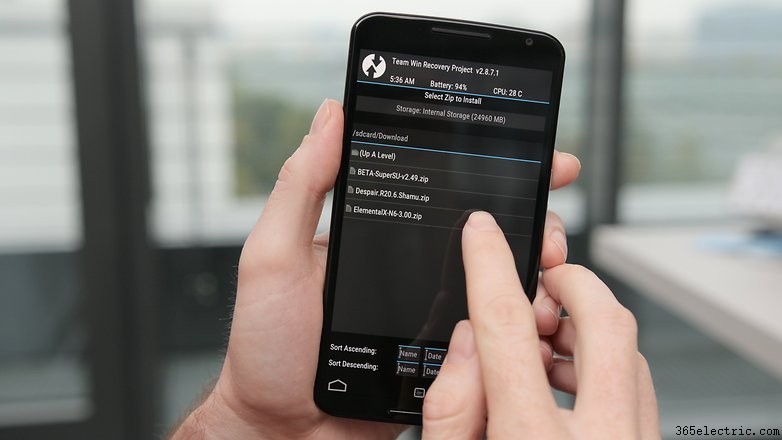
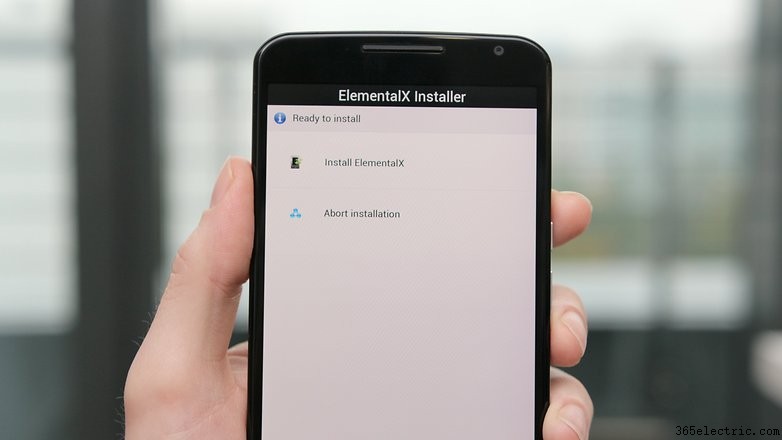
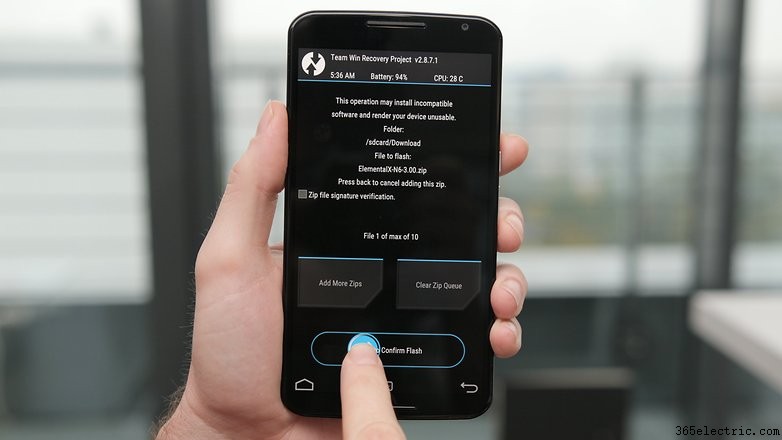
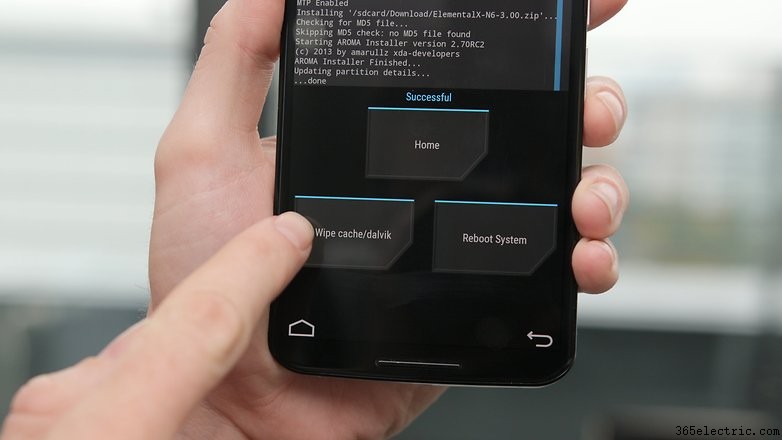
7. Flash the kernel zip file and wait for a success message. Some kernels (like Elemental X in our example) will run you through a series of screens like the Install Wizard on your computer.
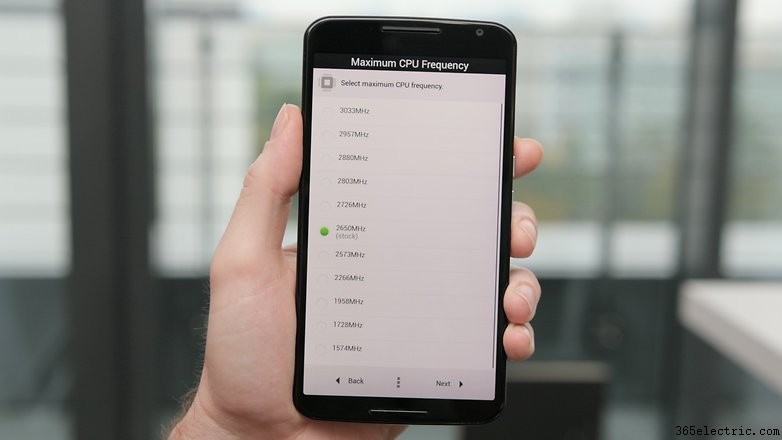
Some kernels will allow you to set the CPU clock speed during installation. You can make changes then and there or later through the CPU manager app you installed. See below for instructions on the latter.
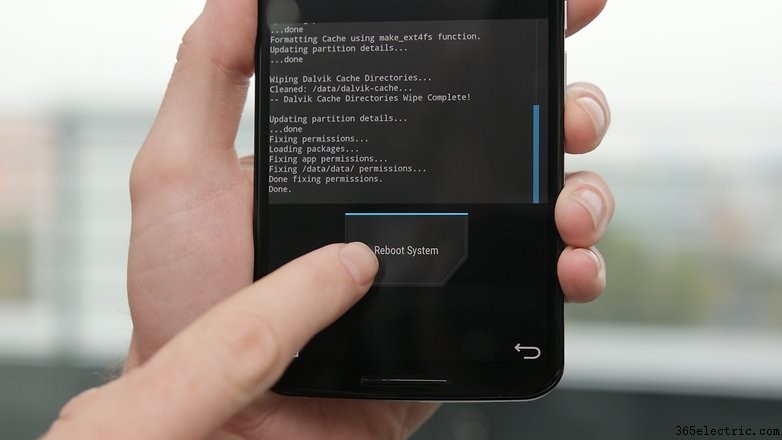
8. Wipe the cache once the kernel has been flashed successfully.
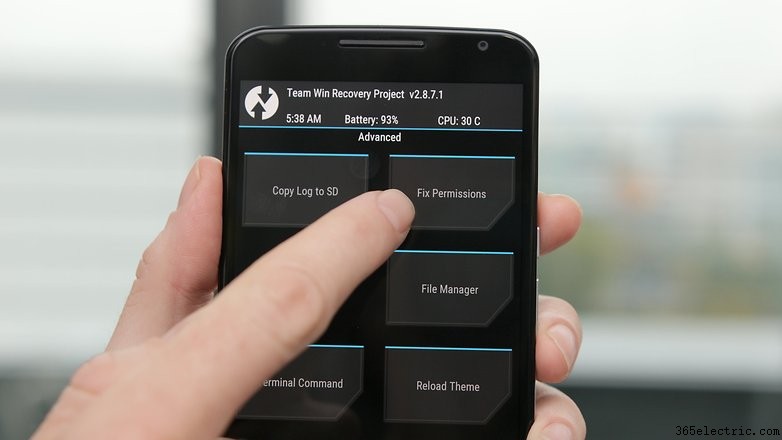
9. Go to the Advanced settings in recovery and tap 'Fix Permissions'.
10. Reboot your system.
Changing your CPU clock speed
If you didn't change the CPU settings during installation of your custom kernel you can now launch your CPU manager or kernel app. If you haven't already installed compatible software for your kernel you'll need to find an app in the Play Store.
There are plenty that work well, but I'm using a free app called Kernel Adiutor. You'll need to grant your kernel app root permission and you might be required to install BusyBox as well (which will also require root privileges).
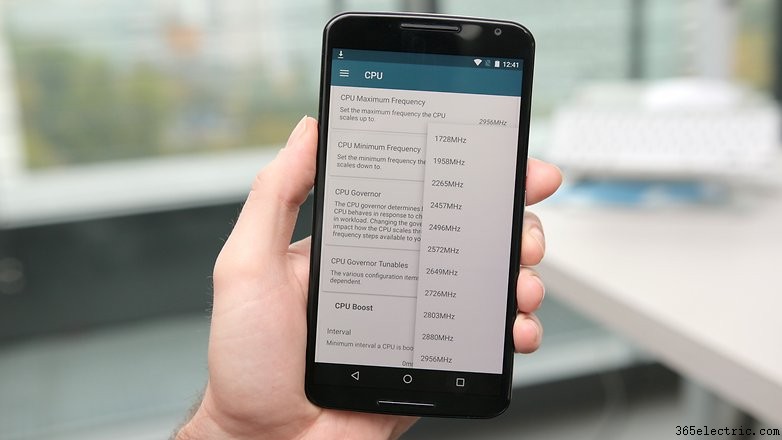
Look for the settings that control CPU clock speed. Depending on the app you're using, you can choose a max CPU speed from a drop down menu or use a slider. Remember, take it slowly and try each clock speed out for a while to see how it affects stability, battery life and heat. Start at around 10 percent more than your current clock speed and work your way upwards.
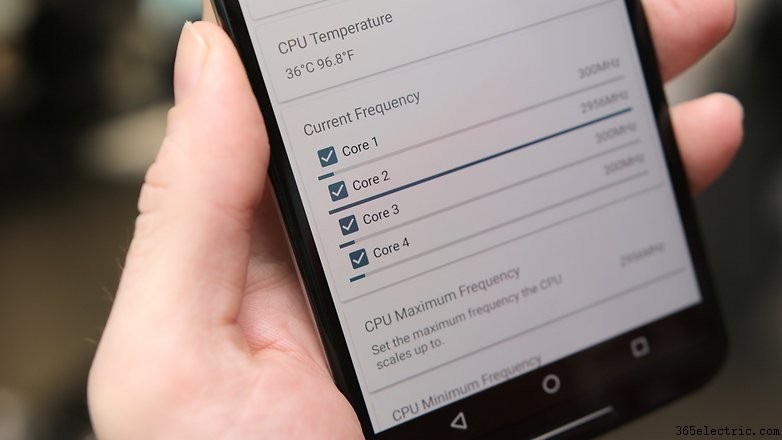
Don't be surprised if your CPU speed doesn't instantly jump up to that new setting. What you're doing when you overclock is changing the CPU's maximum speed, so it will be able to deliver higher performance when necessary.
While you can also change the minimum clock speed, that just puts unnecessary strain on your processor and battery. After all, there's no need to be maxing out your CPU just to read emails.
If you encounter any instability with your new settings just go back and drop your max clock speed a little and see how you go.
If you encounter any problems that seem out of the ordinary, hit the forums or the place you grabbed your kernel from and read through the entries to see if anyone else has already solved your problem. If not, ask for help from the community. If all else fails you can simply re-flash the original kernel your device came with.
Let us know how you got on, and how much better your overclocked Android is now.