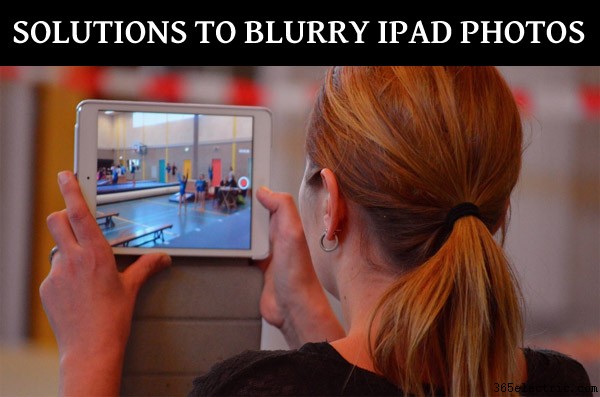
iPad カメラの画質が悪い:iPad の写真がぼやける場合の解決策
iPad は、いつでも手元にある便利な小型デバイスの 1 つです。統合されたカメラのおかげで、移動中に写真やビデオを撮るのに最適なツールです。残念ながら、iPad はぼやけた画像を生成することで有名であり、これは他の要因によっても引き起こされる可能性があります。
iPad を所有していて、それを使ってシャープで詳細な見栄えの良い写真を撮影する方法を常に考えている場合、または新しいぼやけの問題に直面している場合は、適切な場所にいます.
ぼやけた iPad の写真と t を克服するためのいくつかの異なる解決策があります これらは根本的な原因によって異なります。写真がぼやける原因としては、レンズの汚れ、フラッシュの不適切な使用、フォーカス ポイントの誤り、カメラのゴミ、照明不足、ズームの使用、ケースの干渉、HDR ステータス、ソフトウェアの問題、またはその他の要因が考えられます。
これらの問題のすべてに対処する方法を学ぶために読んでください。
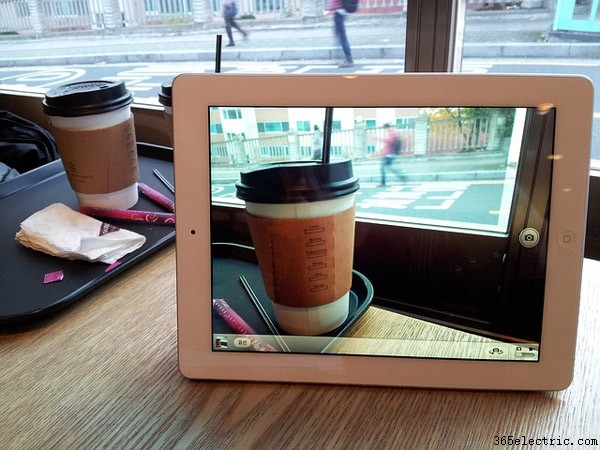
ぼやけた写真は、露出過多や露出不足などのように簡単に修正できないため、使用するカメラの種類に関係なく、写真家にとって心配事です。 iPad は軽量で、おそらく最高のカメラ システムの 1 つを備えていますが、写真がぼやけてしまう可能性があります。なんで?写真家が使用する間違ったテクニックと、カメラの制限が原因の 1 つです。また、後で説明するハードウェアおよびソフトウェアの問題が原因である可能性もあります。
また、ぼやけた写真と手ブレの違いを知ることも不可欠です。少し動きがあり、画像がぼやけている場合は、露光中に手が動いたことを意味し、カメラの揺れが見られます。
手ぶれを避けるため、常にレンズの焦点距離よりも速いシャッター スピードを使用し、可能であれば三脚を使用してください。詳細は後述します。
不適切な焦点
iPad でぼやけた写真を撮影する重大な理由の 1 つは、フォーカス ポイントの選択が間違っていることです。フォーカス ポイントは、オートフォーカス ポイントと一致する写真内のポイントです。これは、画像内で最も鮮明なポイントです。通常、それが写真の主題です。
その焦点面 (その焦点を通る仮想面) にあるものもシャープです。
ピントを合わせるには、カメラのピントを合わせたい画面上の正確なポイントを軽くタップするだけです。内蔵レンズが自動的にフォーカスをそのポイントにロックします。
iPad の写真がぼやける場合があるのは、カメラがオート フォーカスを使用しているか、写真家がフォーカス ポイントを正しく選択していないためです。
説明させてください。
風景写真を撮っているとしましょう。現在、横長の画像では、ほとんどのフレームがタック シャープであることが期待されます。これは、小さな絞りを選択して過焦点距離で焦点を合わせることができる DSLR またはその他のタイプのカメラで簡単に実現できます。
過焦点距離とは、画像内で無限遠にあるものを許容できるほどシャープに保ちながら、焦点を合わせることができる最も近い距離です。
残念ながら、iPad では必要に応じて絞りを変更することはできません。各レンズには、1 つの固定レンズが付属しています。構図の被写界深度を変更するには、さまざまなテクニックを使用する必要があり、そのテクニックの 1 つは正確にピントを合わせることです。
とはいえ、これらのトリックを使用して、固定絞りの問題をいつでも回避できます。フレームの約 3 分の 2 に焦点を合わせる浅い被写界深度の問題を回避するためです。一方、被写界深度を浅くするには、被写体と背景の間に十分なスペースを残しながら、被写体をカメラに近づけます。これらについては後で詳しく説明します。
アプリ ストアで入手できる過焦点距離計算アプリは多数あります。これらのアプリは、最大の被写界深度で焦点を合わせるレンズの焦点距離、カメラのモデル、絞りの正確な距離を教えてくれます。
オートフォーカスに頼らない
写真家としてできる最悪のことは、iPad のオートフォーカス機構に頼ることです。使用しているカメラに関係なく、すべての写真家に同じことが言えます。
フォーカス ポイントは常に手動で選択してください。 これにより、焦点を合わせたいものを正確に制御できます。これは、ポートレートから風景まで、あらゆるジャンルの写真にとって重要です。
フォーカス ポイントを手動で選択する最良の方法は、フォーカスをロックしたいポイントを軽くタップすることです。ただし、この手法には重大な問題があります。画像の撮影中に手を完全に安定させることは不可能です。つまり、フォーカスをロックした後、カメラが動くとフォーカス ポイントが変化し、画像がぼやけてしまいます。または、少なくとも意図した被写体がぼやけます。
これを避けるために、一部の写真家はフォーカスをロックすることを好みます。しかし、その場合でも、フォーカスをロックして手を動かしても、カメラはフォーカスを再取得しないため、ぼやけた画像を回避することは困難です。解決策は三脚を使用することです。
三脚を使う
A tripod or some sort of stabilization rig is the best solution for a blur-free image using your iPad. As iPads are larger (and heavier than mobile phones) devices you need special tripod adapters or holders to mount an iPad onto a tripod.
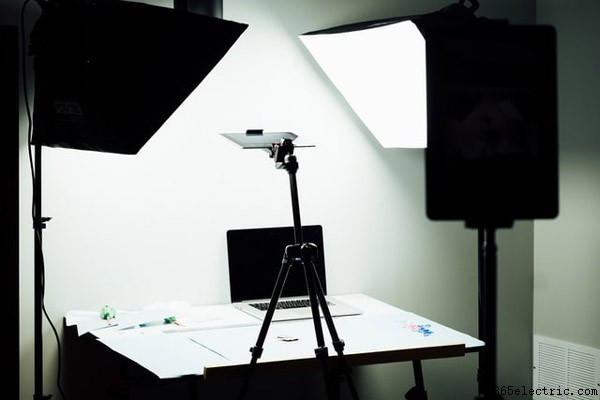
The tripod will give you that much-needed stability for shooting genres like landscape, product, and macro photography, where even the slightest hand movement can become a major issue.
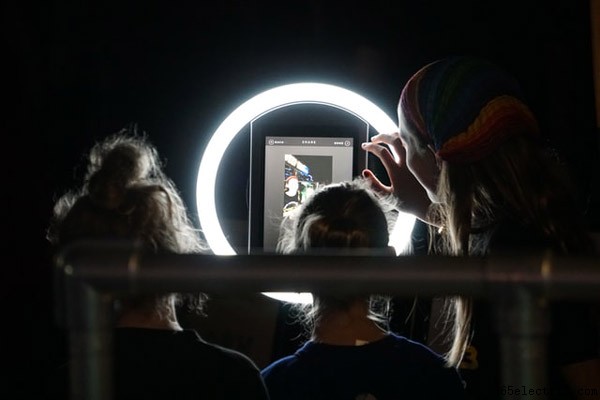
Use flash or other lighting
Poor lighting is another major reason for blurry photos. Your iPad lens works pretty much like a normal lens. That means it excels in bright well-lit conditions. But unlike larger lenses which are designed for interchangeable lens cameras, the smaller lenses on iPads struggle in low light conditions.
What they do is either slow down the shutter to capture a lot of light or use a high ISO number. It is this slowing down of the shutter that causes image blur. To help these cameras make up for their inability to shoot images in low light conditions, it becomes necessary to use external lights.
External lights will help you to fill the gap between what is the optimum light for shooting an image and the available amount of ambient light.
There are many different types of external lights that you can use to make sharp images in low light conditions. External lights can be broadly classified into two – (a) continuous lights and (b) flash/strobe.
Continuous lights, as the name suggests are always on (i.e., when you switch them on). They are easy to use because you capture the same image you see on the LCD screen. But the power of LED lights is lower than strobes.
On the other hand, strobes are more powerful, but difficult to set up. You have to go through a long trial and error curve when setting these up. That means you have to take several test shots to fine-tune the amount of power that you need as well as finalize the angle of light.
Both these types of lights are more readily available for ‘proper’ cameras, I mean cameras that allow you to change the lens (interchangeable lens cameras). For iPads and mobile phones specially made smaller flash units are designed.
Continuous lights, however, can be used both with mobile phones as well as proper cameras-there are no limits. Here are some lights for tablets.
Be careful with digital zoom
All mobile camera systems as well as iPads come with a fixed focal length lens. These days most mobile devices would have more than one camera at the back (and in some cases in the front as well). This is to bypass the limitation of mobile camera lenses in the sense of their inability to zoom in and out.
So, there would be a standard focal length lens, a long focal length lens, and a short wide-angle lens to capture three different perspectives.
But what if you want to zoom in a bit tighter than what is possible with the built-in zoom lens? You pinch and zoom just like everybody else. Every mobile device comes built-in with a digital zoom feature. It magnifies the image not optically by moving elements inside the camera but by using software that enlarges the image.
You may have noticed that at extreme zooms images appear pixelated. This is the reason for that. These images also appear blurry because they are.
Check interference from case
The reason for blurriness in iPad photos could be as basic as part of the iPad case blocking part of the lens and the device not being able to focus properly. Don’t forget that there are all kinds of sensors on these devices, and not just the lenses themselves. Nothing can be blocked by objects and it doesn’t take a large object to interfere enough to mess up an image.
In addition, the image stabilization function could be adversely affected by a magnetic add-on lens or a metal case. Simply remove any accessories and see if the images improve.
If your case is the issue, you may be able to enlarge the camera opening in the case until the interference is gone. Just dont try it while the iPad is inside your case or you may damage the lens.
Clean your lenses
The issue causing your blurriness may be as simple as a fingerprint from your finger, oil or a dried liquid on your lens.
Clean it carefully with a clean microfiber cloth. Never use random material like a sweater or anything not meant for lens cleaning. Even types of napkins can be abrasive to the sensitive surface of a lens and it is just not worth it to create microscopic scratches on your expensive tablet camera.
Improper use of flash
If your photos look unnaturally bright and of poor quality, check to make sure your flash is not turned on when it should not be. This applies to conditions where the flash should not be going off, such as in daylight. The result may not exactly be blurry photos but you will be able to tell that something is wrong.
To turn off the flash on the iPad, from the Home screen tap on Camera. Tap the Flash icon and turn to Off.
Check HDR status
If you get color that is too bright or double exposure in your images, make sure your HDR (high dynamic range) is turned off. To turn off HDR, go to Settings/Camera or click the HDR letters on the Camera screen.
Look for debris inside lens
Debris may be a reason your camera is taking blurry photos. If you see anything inside the lens that looks like it should not be there or is moving, you need to bring your device to an Apple authorized service center or an Apple Store Genius Bar. You can also contact Apple support at https://support.apple.com/contact
If, on the other hand, it is not debris but condensation from humidity or exposure to moisture, this can also affect image quality. If this is the case, however, you may have moisture in your device in general, and should back up your data before trying drying methods such as silica or rice.
Switch cameras
The front camera is usually lower resolution than the rear camera. If you are getting blurry images using the front camera, try taking the same photo with the rear camera and see if things improve.
This is also a good way to see if just one of the cameras is malfunctioning for some reason, rather than a device wide error.
Restart your device
If all hardware and technique issues have been addressed, it may be a software issue. The first thing you do to diagnose software issues is to restart the device.
To restart your iPad, press volume up or down button and the top button until the slider appears. Slide it and wait for the device to shut down. If it will not, you need to force a shutdown.
To do so on an iPad with no home button, quickly press the volume up button, then do the same for the volume down button. Hold the side/top button until the Apple logo appears.
To do it on an iPad with a home button, hold the home button and power button together until the Apple logo appears.
Inspect your camera App
Try shutting down and restarting your camera App. To do so, go to the app switcher and swipe up on the app. Then reopen it by going to your home screen and tapping on the app.
You can also reinstall your camera app by first deleting it- hold the app down, then click Delete App when an actions menu appears.
Then go to the App Store and search for the app using the exact name of the built in app. Click the button to restore the app.
Another option if you suspect it may be the Camera App causing the issue is to try downloading another app that uses the camera and see if the problem is the Camera App or your iPad. This may be any other third party camera app or any app that uses the camera for some purpose.
Reset your settings
You can try resetting your device settings if the issues persist, but this is less likely to help. While you will not lose your data after doing this, your preferences and settings will disappear.
To do this, you can navigate to Settings/General/Reset/Reset All Settings.
Check for operating system issues
Owners often report getting camera app issues after they upgrade their operating system. You may try rolling back the iOS if nothing else works. Make sure you back up all your data first. To roll back,
On the other hand, there may be a bug in the camera of your current operating system. Since its always good to be up to date on any system updates, check and run any you may find available.
You can update your OS by going to Settings/General/ Software Update.
How do you fix blurry iPad photos already taken?
No one likes a blurry photo, regardless of the camera that they use. When we are faced with a blurry photo the first reaction is can we salvage it? I mean is there a way to make the image appear less blurry?がある。 But before I explain a few techniques it is pertinent to note that it is always best to not attempt to fix blurry images unless they are only slightly blurry and you are not looking for perfection.
The easiest way to unblur or make an image appear less blurry is to add some sharpness to it. There are many different photo editing software available that can help you achieve what you want to do. But my first preference is always Adobe Lightroom. Adobe Lightroom has this ‘Sharpening’ tool under Detail that allows you to add some sharpness to your photos.
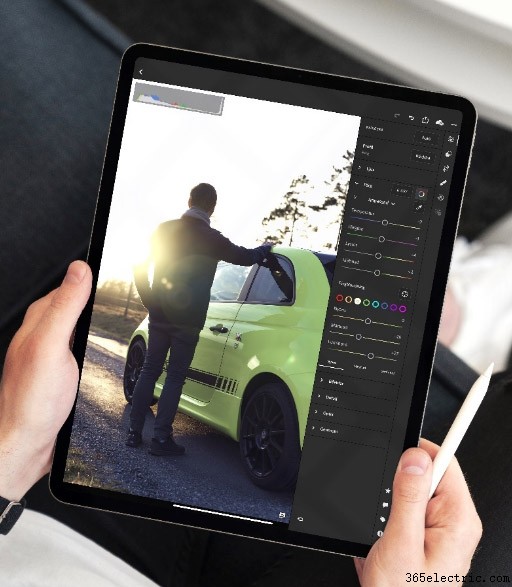
Dragging the sliders will allow you to define how much sharpness you want to add to the photos. Drag the Amount slider to the right and you will find that your image immediately starts to show some artifacts. That is never the right way. So ideally, you would like to keep sharpness down to an acceptable level.
Check out this video by DIY University if you are having other iPad camera problems:
I hope that this comprehensive article helped you get to the bottom of your poor quality iPad photos. If also else fails and you want to keep using an iPad for photography, consider purchasing a new or used one. They are getting more and more affordable.
Between an iPad and an iPhone, the latter is the clear choice for photographic nirvana. Want to know more about how to shoot great images using your iPhone? Check this article.