Excel で週単位の 24 時間カレンダーを作成する方法
Excel の列と行を使用して独自の 24 時間の週間カレンダーを作成するか、Excel カレンダー テンプレートをカスタマイズします。
自分で作る
ステップ 1:時間ラベルを作成する
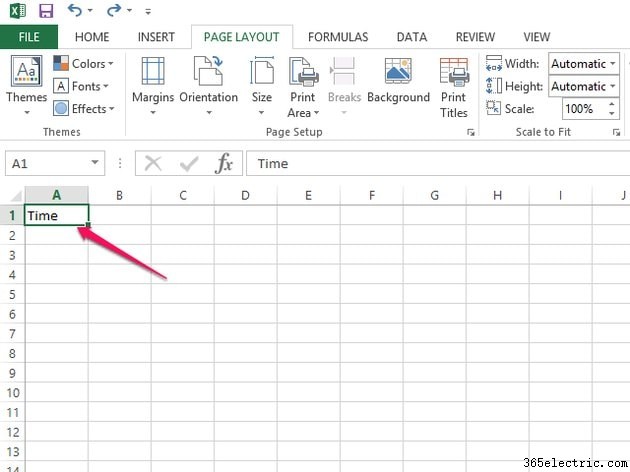
Microsoft Excel で空白のスプレッドシートを開き、Time と入力します A1ボックスに。
ステップ 2:曜日ラベルを作成する
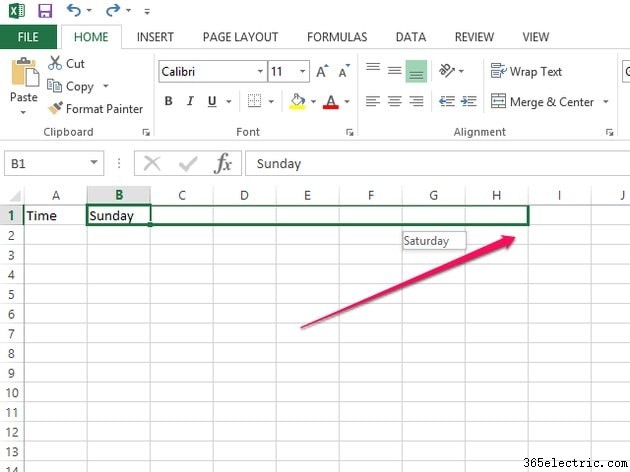
曜日ラベルを作成するには、「日曜日」と入力します B1 ボックスで、ボックスを H1 にドラッグし、7 つの列をカバーします。他の曜日は、これらのボックスに自動的に入力されます。
ステップ 3:時間を割り当てる
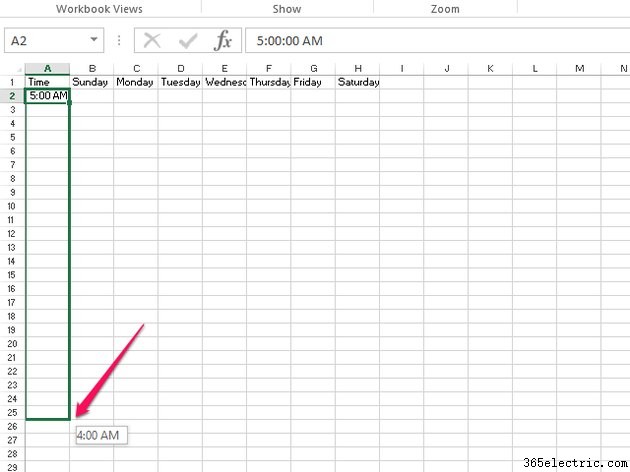
デイリー カレンダーを開始する時刻を A2 ボックスに入力し、ボックスを A25 ボックスにドラッグします。これにより、その日の残りの時間が自動的に追加されます。
ステップ 4:スケジュールを記入する
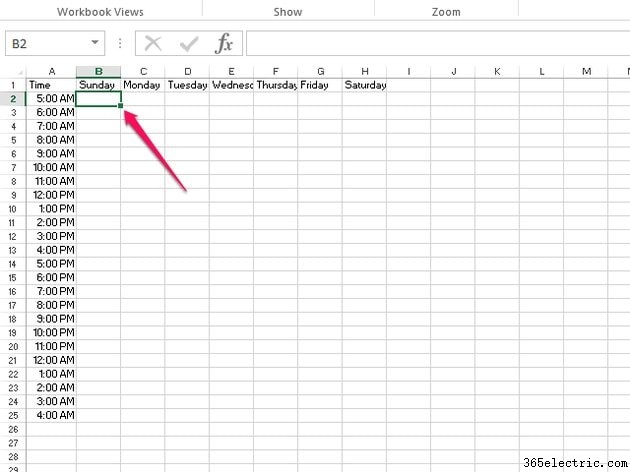
対応するボックスにスケジュールと予定を入力してください。
Microsoft Office のスケジュール テンプレートを使用する
ステップ 1:検索
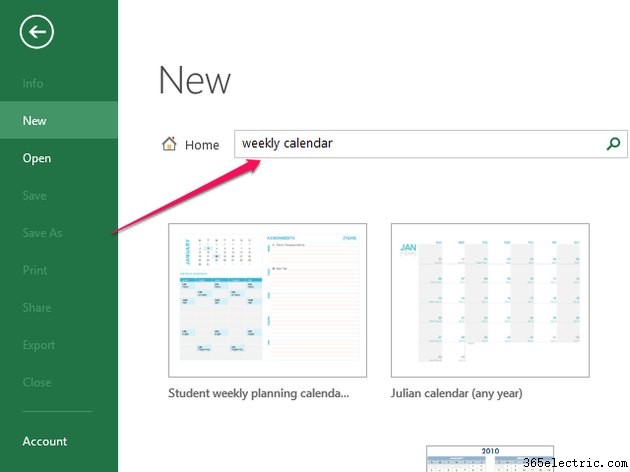
新しい Excel ドキュメントを開き、週間カレンダー テンプレートを検索します。
ステップ 2:テンプレートの選択
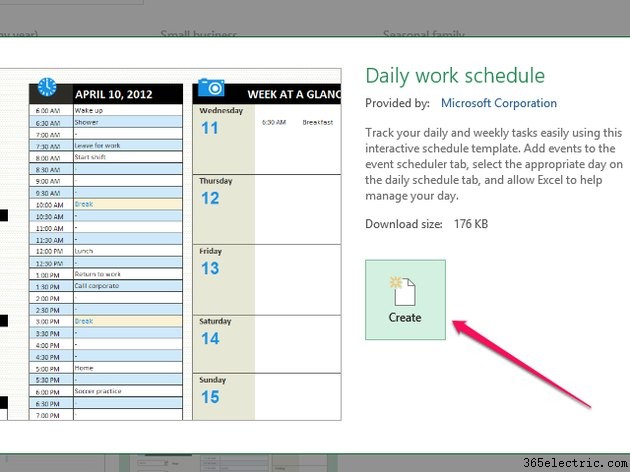
使用するテンプレートを選択し、[作成] をクリックします .
ステップ 3:議題の記入
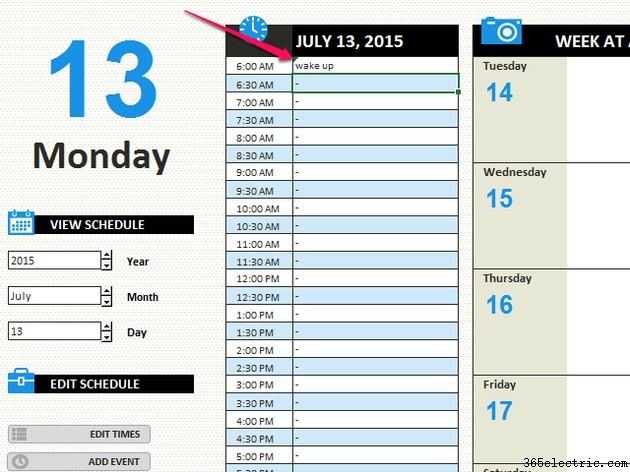
Excel のテンプレートはインタラクティブです。 Microsoft テンプレートに入力するには、入力するフィールドをクリックして情報を入力します。
テンプレートをオンラインで検索
ステップ 1:テンプレートを検索する
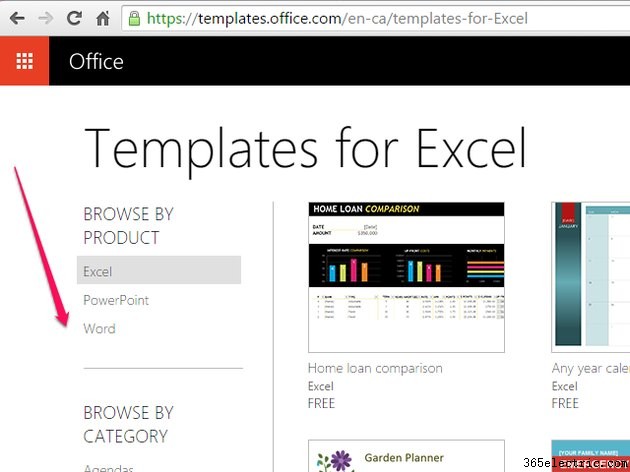
Microsoft Office Web サイトにアクセスして、テンプレートを検索してください。
ステップ 2:テンプレートの選択
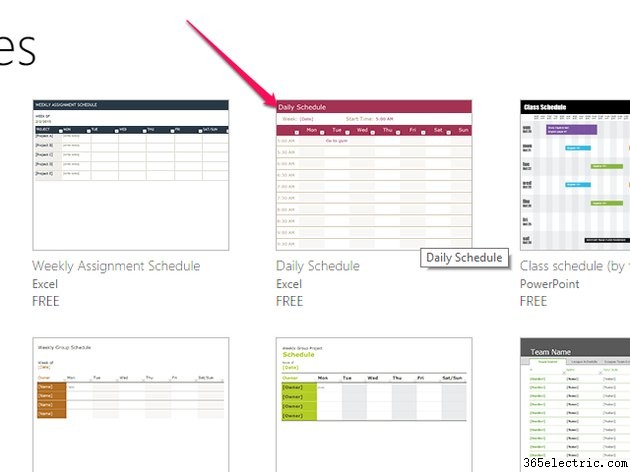
使用するテンプレートを検索し、テンプレートのサムネイル画像をクリックします。
ステップ 3:テンプレートを開く
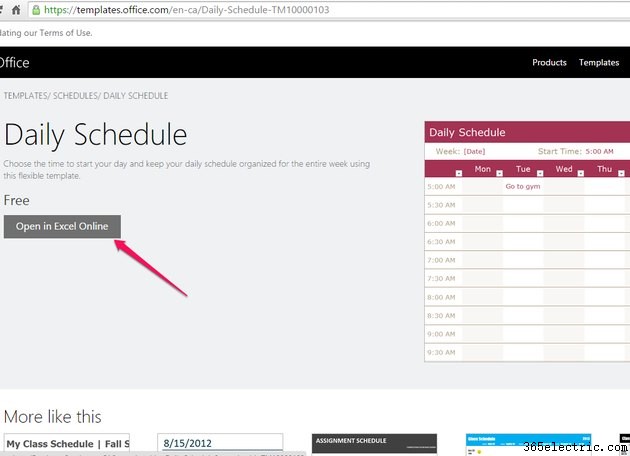
[Excel で開く] をクリックします テンプレートを Excel ドキュメントで開きます。
ステップ 4:Excel にサインインする
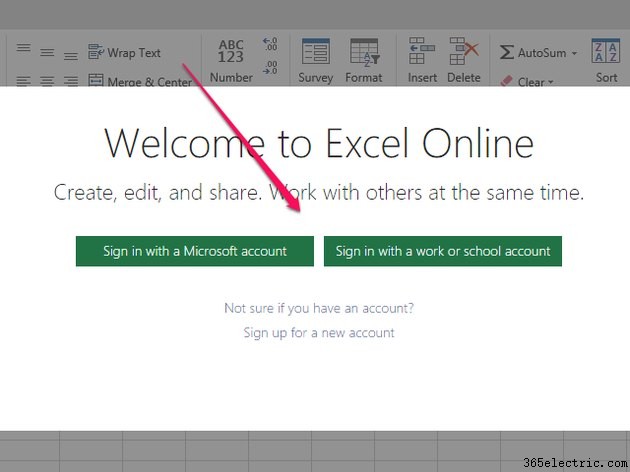
Microsoft アカウントを持っている場合は、そのアカウントでサインインします。職場または学校のアカウントでサインインすることもできます。アカウントを持っていない場合は、新しいアカウントを作成してください。
ステップ 5:Excel に進む
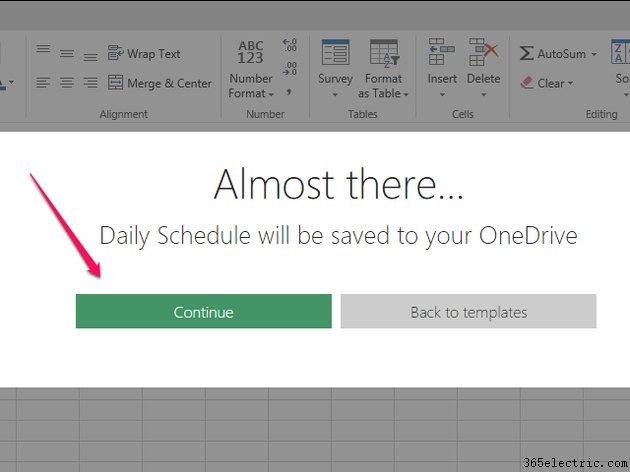
[続行] をクリックします テンプレート ドキュメントを作成します。
ステップ 6:Excel Online を使用する
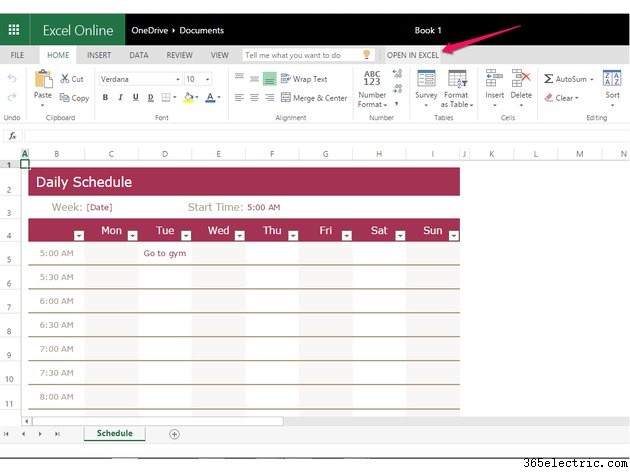
引き続き Excel Online を使用する場合は、入力するフィールドをクリックして議題を入力します。ただし、Excel デスクトップ アプリケーションで作業する場合は、[Excel で開く] をクリックします。
ステップ 7:デスクトップで Excel を使用する
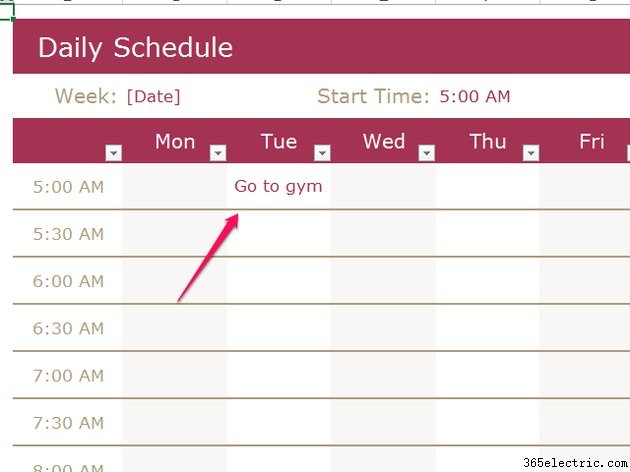
Excel デスクトップ アプリケーションを開いた後、変更するフィールドをクリックしてスケジュールを入力できます。